There are only 3 things you need to sew a button:
- Scissors
- Thread
- Needle

Also the 3 things depicted on the Maker Badge for Hand Sewing *wink*
1. Mark the position

Although sewing patterns often have the button positions marked with a cross or a dot, I like to mark their positions by using a ball head pin through the buttonhole, as it will be the most accurate.
If you are using a shank button, you can also push the shank through the buttonhole to make an indent on the fabric underneath, before marking it with a fabric pen.
For vertical buttonholes, the buttons usually sit about ⅓ to ¼ from the top of the buttonhole.
2. Thread the needle

Thread through the eye of the needle. If you are having trouble getting it through, cut the end of the thread on an angle before trying again.
Double up the thread. The doubled-up thread should be about the length from your hand to elbow - too long and the thread runs the risk of tangling and knotting up when sewing.
Tie a knot at the end. For light weight fabrics with a loose weave, you might need to double- or triple- knot the thread.
The 2 types of buttons
There are 2 basic types of button - flat and shank. Flat buttons usually either have holes, or a narrow part, for the thread to go around. A shank button, on the other hand, has a protrusion or 'loop' on its back, through which thread is sewn.

Sewing on a Flat Button
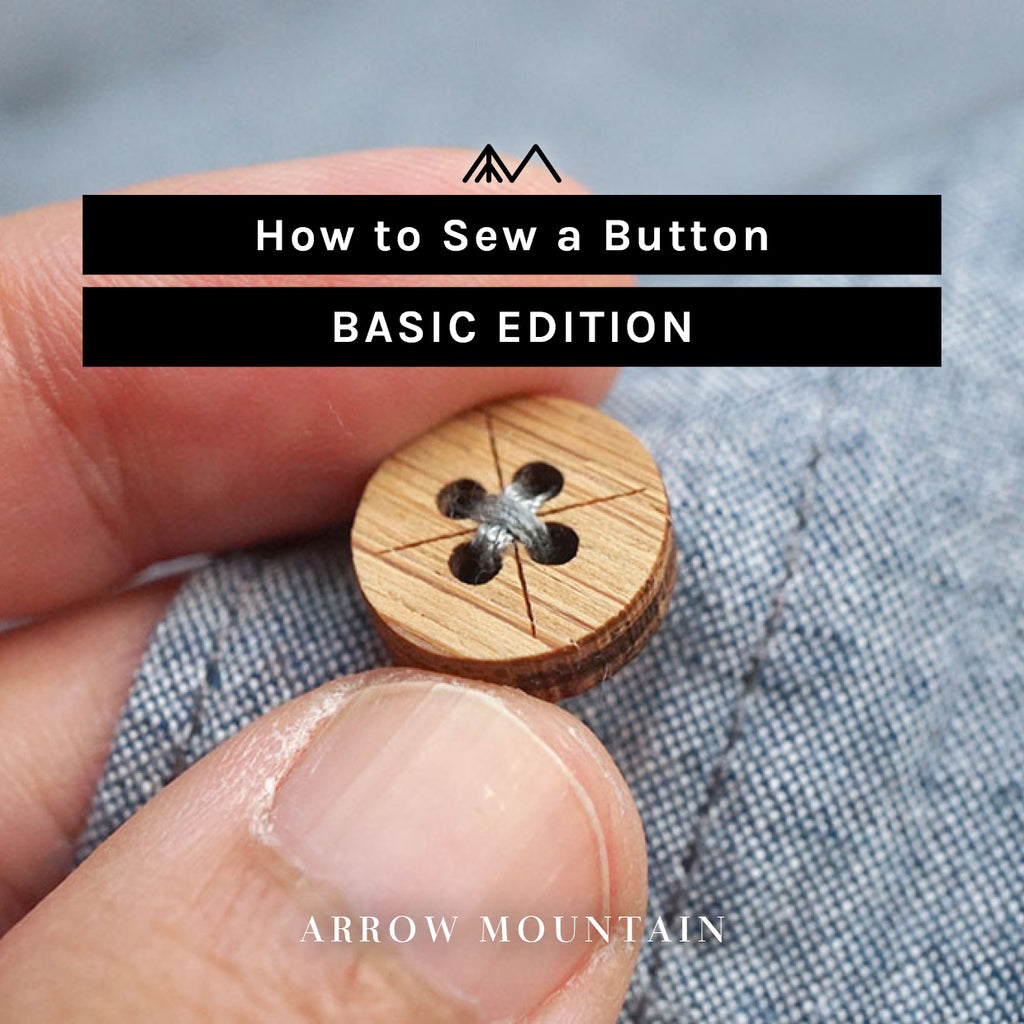
There are 2 basic types of button - flat and shank. Here I am using the Shirt Button - Cross | 4 Holes in Bamboo for demonstration.
3. Stitch the button on

Put the needle through on the right side of the fabric, at the marked position. This way, the knot will be hidden underneath the button when you are finished.
Bring up the needle a short distance away and through one of the holes of the button. For a cross pattern, put the needle back down through the hole diagonal to your first hole. Repeat this at least 3 times for each pair of holes.
4. Create a thread shank
With flat buttons, you want to create a thread shank underneath your button, so that there is space for the buttonhole to sit between the button and the fabric. A common way of achieving this, is to slide a pin or a toothpick in as spacer. But more often than not, I just sew loosely, or pull the button up lightly, to create a gap about 2mm wide.

After you have worked through all 4 (or 2) holes, finish off the thread shank by taking the needle around the threads between the button and the fabric. Circle around 2-3 times.

5. Knot it off
Push the needle through the thread shank before doing a knot. Trim off any end threads that poke out from underneath the button.

Sewing on a Shank Button
Sewing on a shank button is more straightforward, as you don't need to worry about a spacer and creating a thread shank - because the button already comes with a shank!
Start sewing in the same way as above, by putting the needle in on the right side of the fabric. Then finish off by knotting around the threads between the button and the fabric.

Bonus Tip
If you are doing a lot of hand sewing, consider using a needle minder. It is a handy little tool that holds onto your garment by 2 magnets. The same magnets also keep your needle in place in between sewing, while you change threads or take a break.


